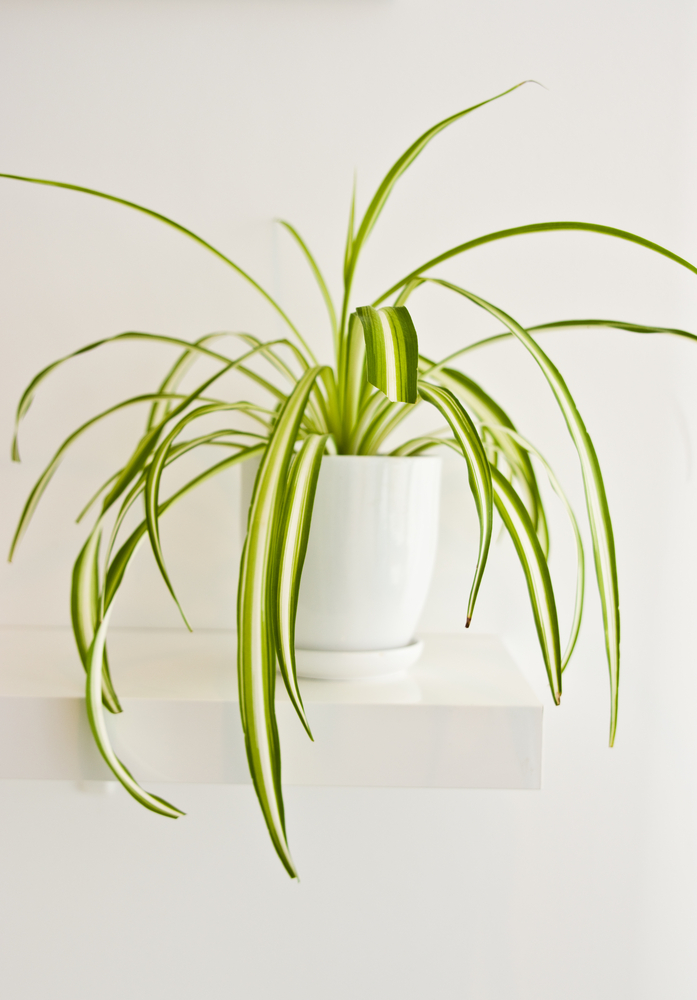
If you’ve never grown a spider plant in your home, you’re missing out. These fairly common houseplants have “spiderettes” that hang down off the main plant and give off the appearance of a bunch of little spiders.

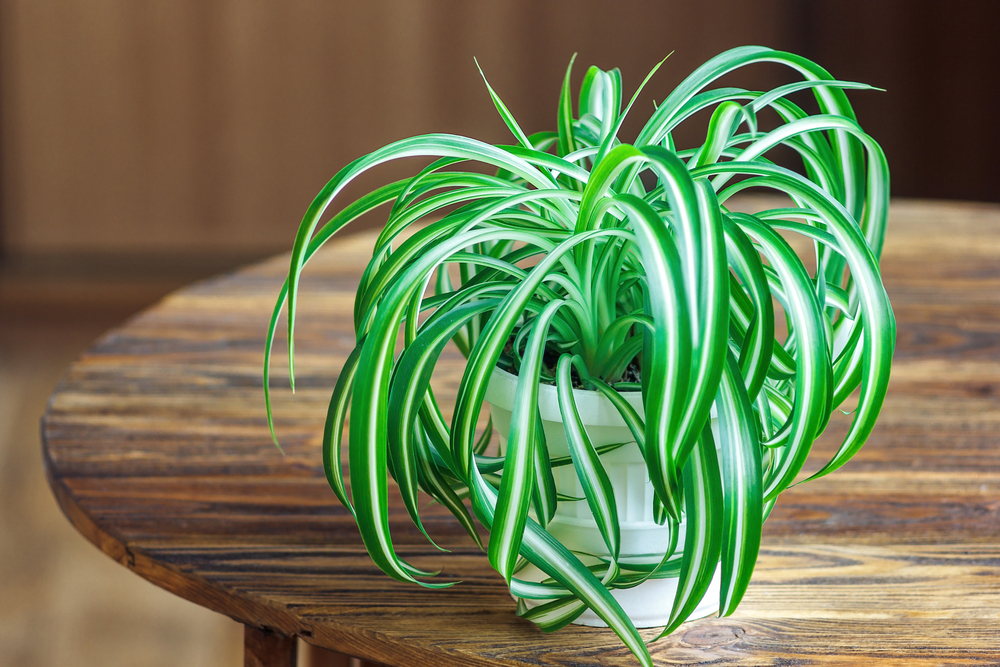
The long, thin foliage of the spider plant is either solid green or streaked with white. The plant is simple to grow and take care of, which is why it is so popular for novice plant-owners.
The spiderettes, or offshoots, of the spider plant, flower in the summer and, if the flower is not pollinated, babies grow out of the little white flowers. Those that are pollinated produce seeds instead of sprouts.
Sprouts grow rapidly and can easily be propagated when their roots reach a certain size. Propagating a spider plant means collecting cuttings of sprouts from the spiderettes in order to grow more plants.
While it is quite easy to propagate spider plants, it’s still important to learn how and when to do it in order to keep the plant healthy and ensure new growth.
Keep in mind that the first and most important step of spider plant propagation is just the basic care of your plant. Without a healthy, strong, and well-grown spider plant, you won’t be able to propagate and grow more.
Here’s what you need to know about propagating a spider plant and transforming those little “spider babies” into their own plants:
When Should a Spider Plant be Propagated?
If you’ve been taking good care of your spider plant and the spiderettes are beginning to flower and grow those little sprouts, you’re getting close to propagation and growing new plants.
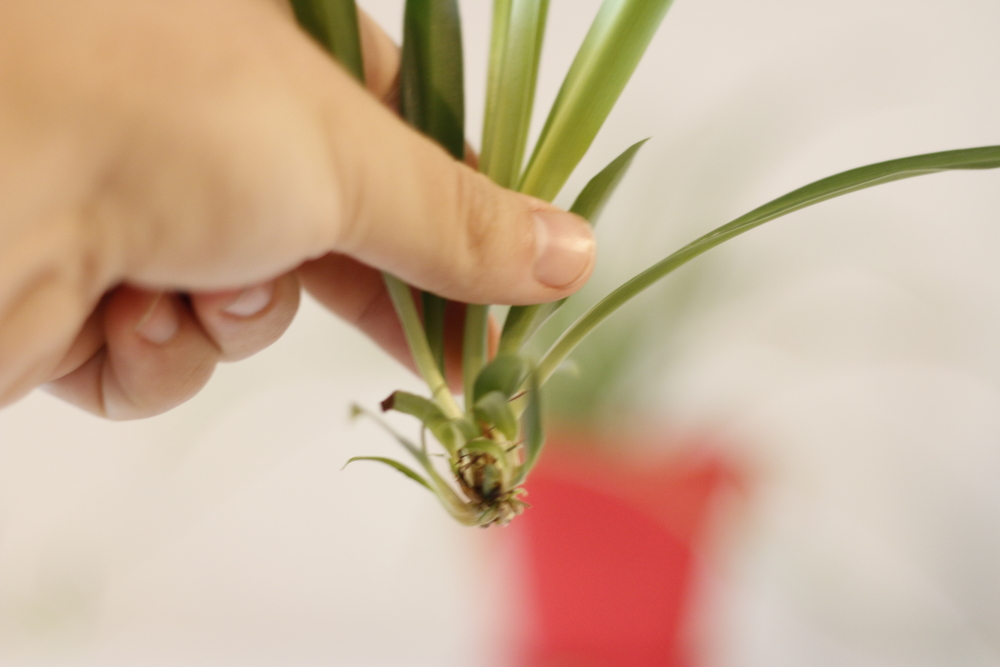
Pay attention to those new little shoots. As soon as they start growing their own roots, and their roots have reached a size that is sustainable, they’re ready to be propagated.
If you choose to propagate your spider plant, make sure the roots of the offshoots are strong. The best time of year for propagation is the spring and summer, which is the active growing season for spider plants, however, it can be done any time of the year.

What Should I Do to Propagate a Spider Plant?
Once you have determined that the roots of the baby plants have grown to a sustainable size, it’s time to propagate. Cut the sprouts off from the parent plant carefully, so as not to damage the plant.
You can cut the spider plant from the mother anywhere on the sprout. However, you might want to attempt to cut them close to the spiderettes to avoid an excess, ugly stem from remaining.
If you do leave a stem, feel free to prune it back to the spiderette or main plant. Once you’ve cut the sprout off, nothing new will grow.
Oftentimes, people are concerned that their sprouts are not ready due to their smaller size. It is a misconception that the sprout itself needs to be large and strong before it can be propagated.
The most important part of growing a spider plant is the roots. With healthy and strong roots, you should be able to grow a plant with a long, happy life.
Instead of focusing on the sprout, keep your eye on the roots. No matter what size your sprouts are, if the roots are beginning to grow to a sustainable size, the sprout is ready for propagation.
You can either plant the sprout in soil or in a clear jar of water. People use the clear jar of water if they want to be able to see the roots of the plant growing.
Rooting Spider Plant Babies in Water
This is the easiest and fastest way to propagate your spider plants and strengthen their roots. However, if you use this method, be aware that your spider plant babies will be a bit weaker and will need to be very carefully transplanted into soil eventually.
Before you submerge the roots in water, make sure to remove any leaves that are growing under the roots or at the base of the sprout. If there is any foliage submerged under water, it will rot and could end up damaging the entire plant.
Fill the clear jar or vase with only enough water to cover the roots of the spider plant baby. If there is too much water, the sprout will be submerged too much, and will rot.
If you decide to use a jar of water to grow the roots, you’ll eventually need to transfer the plant to soil. When the roots have grown to about two inches, it’s time to move it into the soil to give it a more permanent growing area.
The spider babies will need a great deal of recovery time after being transferred into soil. Make sure and give them extra care, time, and attention as their roots begin to grow and take hold.

Rooting Spider Plant Babies in Soil
Plants that are rooted in soil are stronger and have a smaller risk of dying from transplant shock than those initially rooted in water. If you decide to plant your spider plant babies directly in soil after removing it from the main plant, you can either use pots or a propagation chamber.
Propagation chambers are helpful for quick, strong root growth because they keep the humidity level high, causing faster rooting. You can purchase a propagation chamber or make your own.
If you make your own chamber, add heat on the bottom and use a light soil mix, such as pumice, peat moss, or vermiculite. Regular soil will be too heavy for the babies, stifling them and making it harder to grow.
Pots can also be used for rooting spider plant babies in soil. The pots that you use for your sprouts should be small.
Smaller sprouts can share a small pot, while larger sprouts will need their own small pot for growth. The small pot is key because spider plants love to be in confined spaces, which stimulates their growth.
These sprouts grow quickly and their roots will strengthen, taking up the pot and winding their roots all over the place. This is important for the overall health of the plant, which is why using small pots is essential.
After Spider Plant Propagation
As the roots continue to grow, they continue to take up the space in the jar, pot, or propagation chamber. Eventually, it will be time for transplantation.
When transplanting spider plant sprouts, you can use a general soil. At this point, the roots should be strong enough to withstand the heaviness.
Make sure and give the newly planted sprouts water as they get accommodated with their new home. Don’t overwater them, but keep the soil evenly moist as they get established in their pot.
Another option for watering is to lightly mist the pots every day. This helps to keep the soil moist and prevents overwatering.
Transplantation can be traumatic for your growing spider plants, so make sure you’re checking on them regularly.
If your plant was transplanted from water, you need to give it extra care and attention, as it will be weaker than those that were in soil. In fact, these cuttings may actually droop when first transplanted, however, they should perk back up after just a few days.
When you finally start to see new growth on your plant, you can breathe easy. You no longer have a baby!
This is the sign that your spider plant is strong and established. You can begin to provide regular spider plant care and watch it flourish!
Looking for another plant? Check out How to Plant Easter Lillies.
Leave a Reply